 vikram1@gmail.com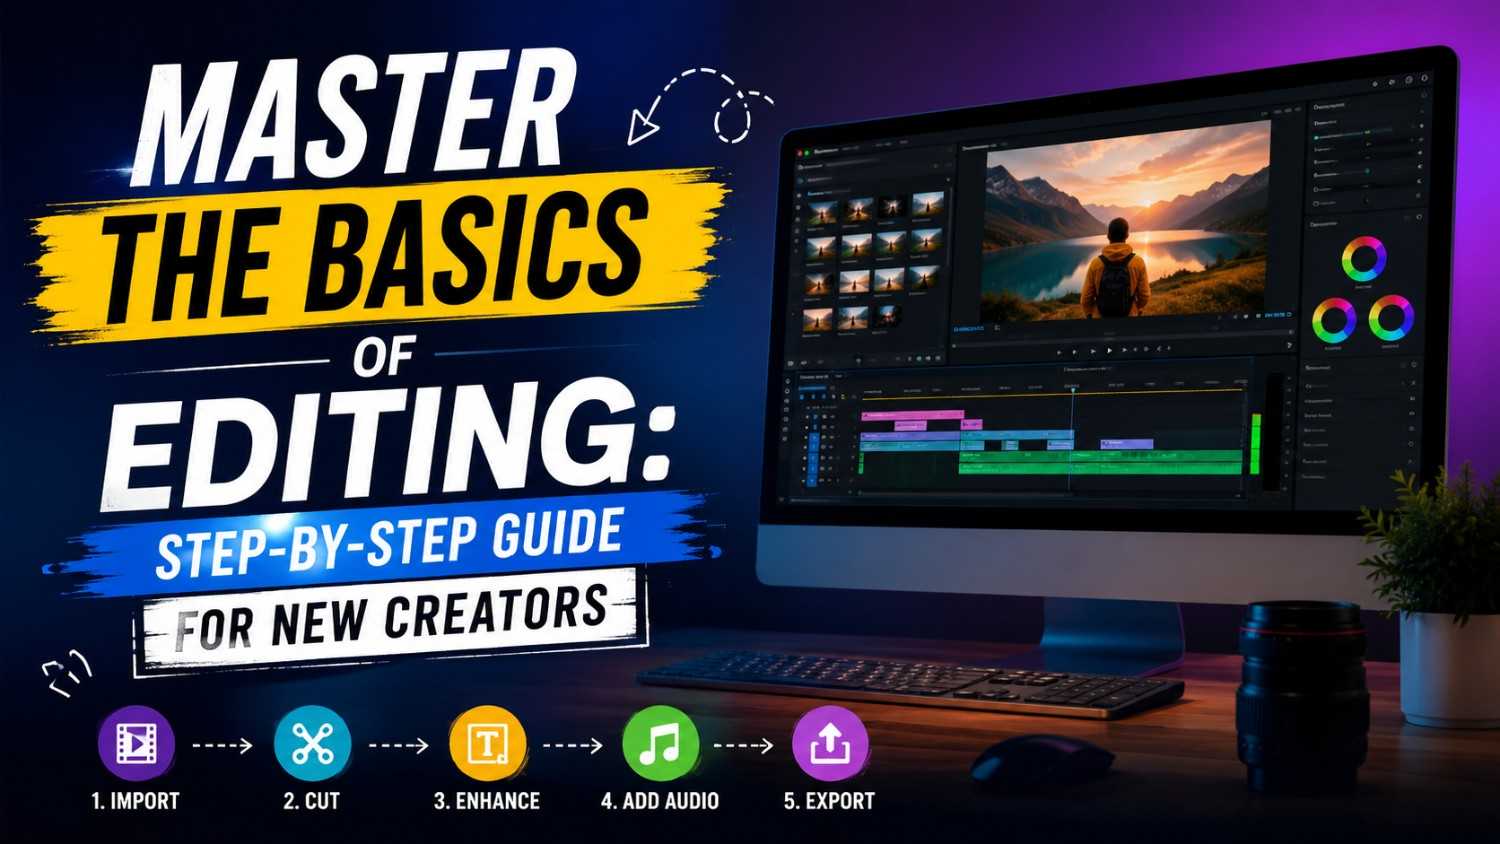
INTRODUCTION:-
Aap ek naye creator hain. Aapne ghanton mehnat karke ek piece of content banaya — ek blog post, ek script, ek article. Lekin jab aapne publish kiya toh response wo nahi mila jo aap chahte the. Kyun? Kyunki likhna aur editing alag skills hain — aur zyada creators dono ko ek samajhne ki galti karte hain.
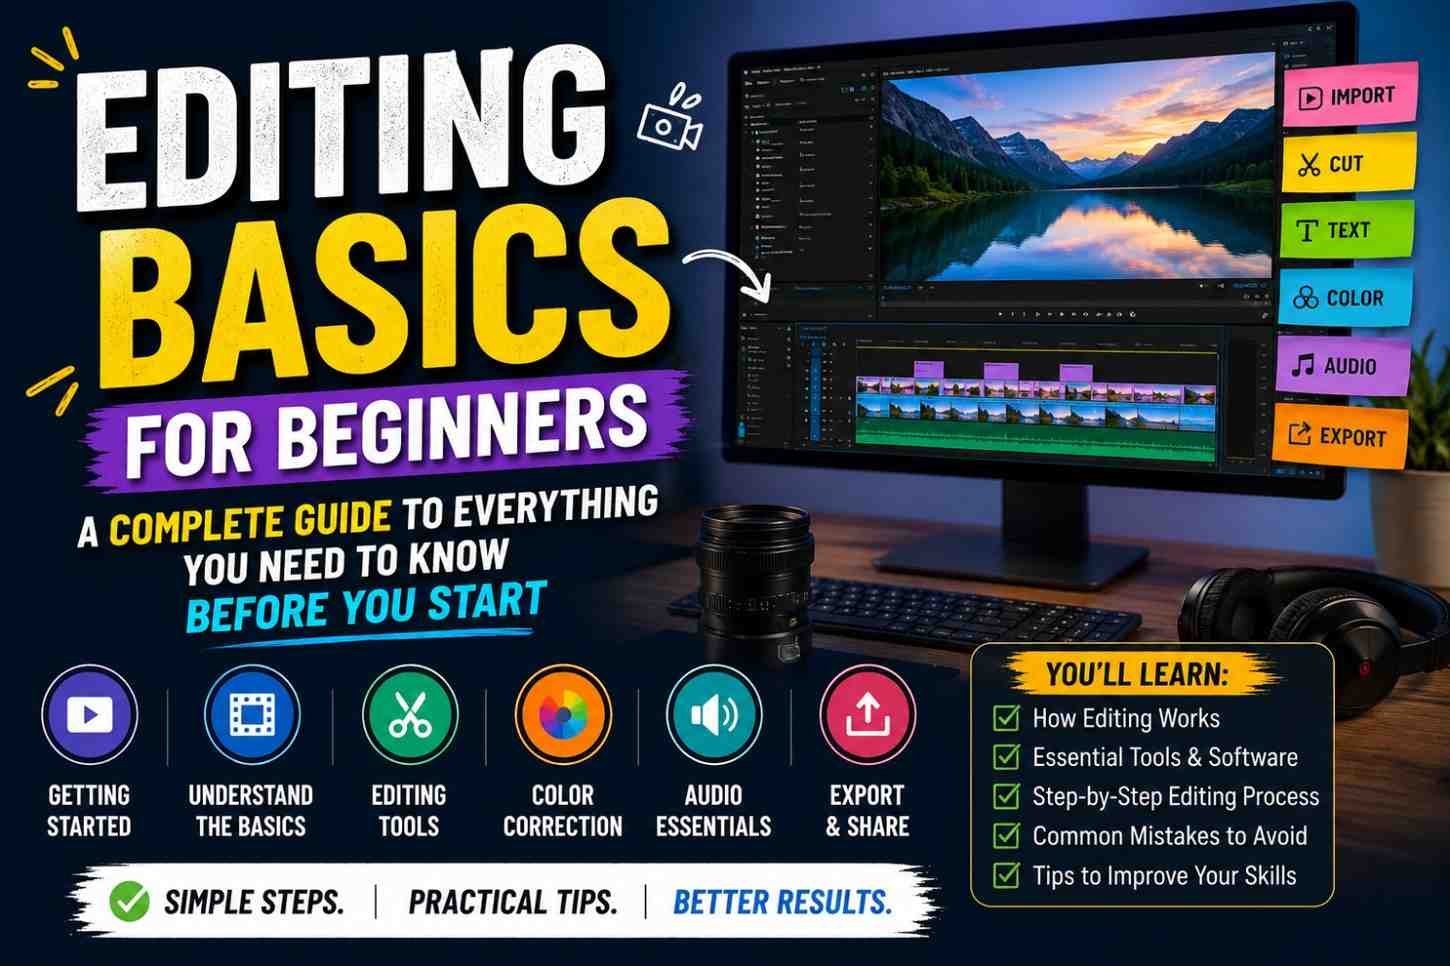
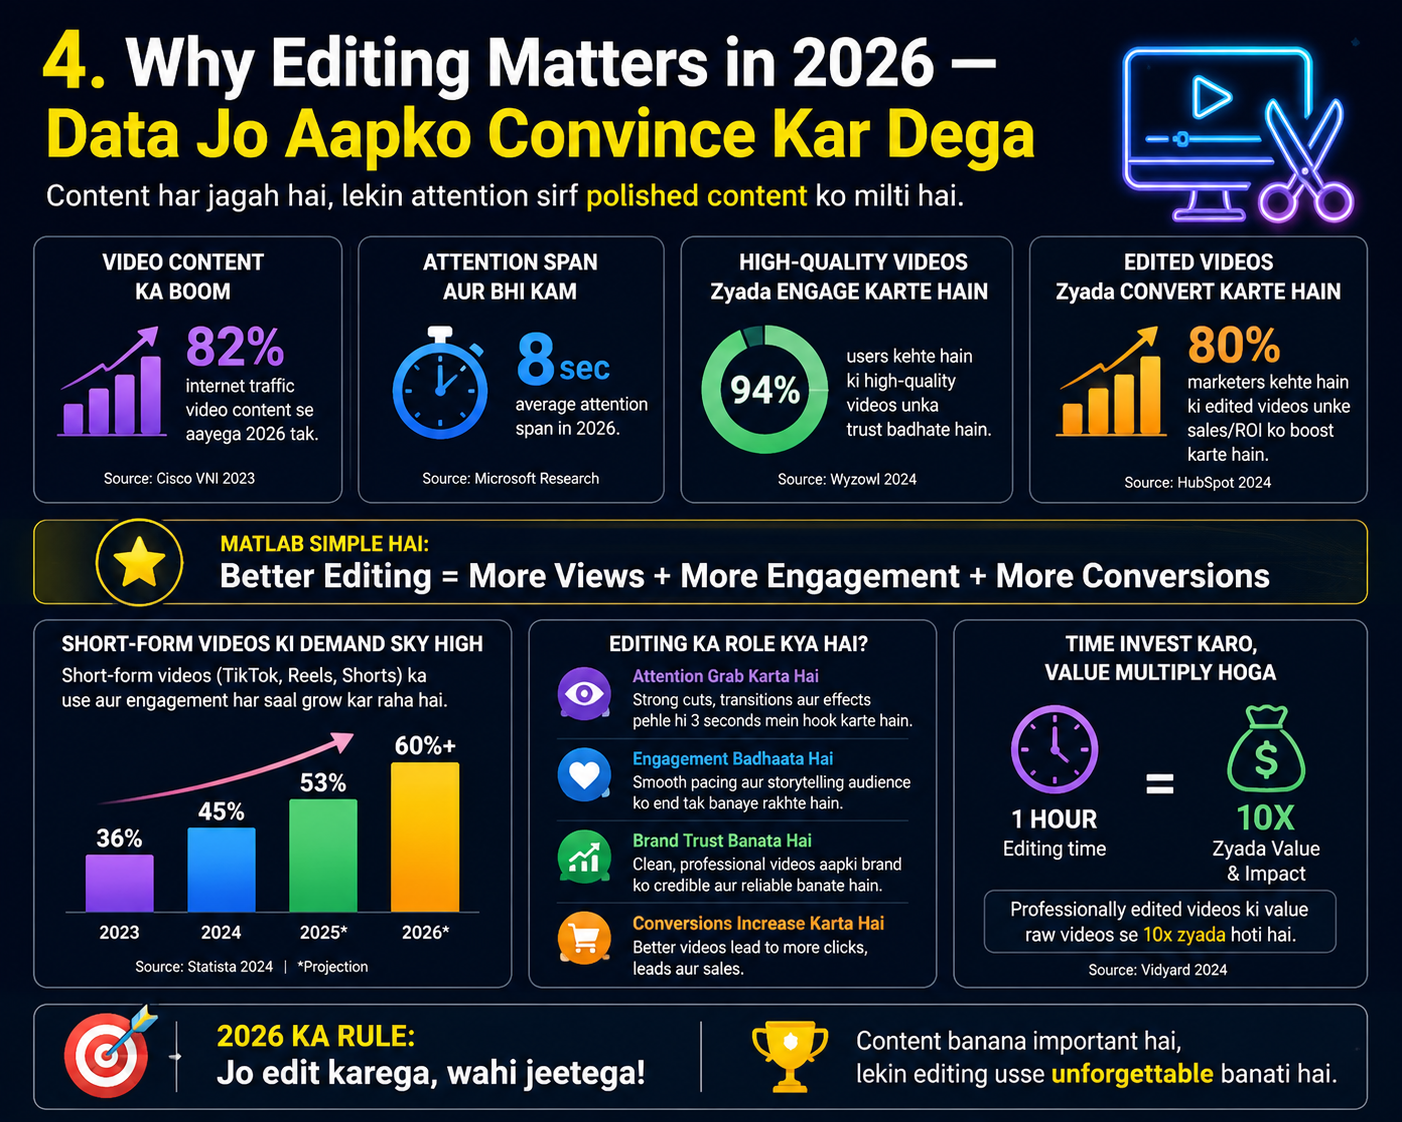
Jab aap Master the Basics of Editing seekh lete hain, toh aapki writing ek alag level par pahunch jaati hai. Readers engage rehte hain, bounce rate kam hoti hai, Google aapko zyada rank deta hai, aur aapka content share hone lagta hai. Yeh sab sirf isliye hota hai kyunki aapne apne words ko polish kiya.
Is step-by-step guide mein aap seekhenge kya edit karna hai, kaise karna hai, kaunse tools use karne hain, aur woh professional tricks jo experienced editors use karte hain. Chahe aap blogger ho, YouTuber ho, freelance writer ho, ya social media creator — yeh guide aapke liye hi likhi gayi hai.
Chaliye shuru karte hain — kyunki yeh waqt hai ki aap Master the Basics of Editing ko seriously lein aur apni content quality ko permanently transform karein.
Step 1: Master the Basics of Editing — Pehle Yeh Samjho Editing Hai Kya
Bahut saare new creators sochte hain editing ka matlab hai sirf spelling aur grammar theek karna. Yeh sochna bilkul galat hai. Real editing ek multi-layer process hai jo aapke content ke har aspect ko cover karti hai. Jab aap Master the Basics of Editing ka pehla lesson seekhte hain, toh yeh fark samajhna zaroori hai:
Editing ke Teen Main Levels:
- Developmental Editing: Content ka big picture — topic, structure, aur overall message. Kya aapka content apna goal achieve kar raha hai? Kya reader ko woh milta hai jo woh dhundhne aaya tha?
- Line Editing: Paragraph aur sentence level par editing. Flow, clarity, tone, aur style ensure karna. Kya har sentence apna kaam kar raha hai? Kya content engaging aur easy to read hai?
- Proofreading: Final surface-level check. Spelling, grammar, punctuation, formatting. Yeh hamesha last step hoti hai — pehle nahi.
In teeno ko alag alag steps mein karna professional editors ki sabse important habit hai. Ek hi pass mein sab karne ki koshish karna na sirf time waste hai — balki result bhi weak aata hai. Yeh teena layers hi aapko truly Master the Basics of Editing ki taraf le jaati hain.
Step 2: Draft Khatam Karo — Pehle Likho, Baad Mein Edit Karo
Yeh creators ki number one galti hai — draft likhte waqt editing karna. Jab aap ek word type karte hain aur phir usse delete karke dobara likhte hain, aap apne creative flow ko rok rahe hain. Research kehti hai ki simultaneous writing-editing from 60% tak productivity reduce karta hai.
Iska solution simple hai: pehla draft bina rukke poora karo. Chahe galat lage, chahe incomplete lage — likhte raho. Ek typo chhod do, ek incomplete sentence chhod do — wapas mat jaao. Pehle complete draft, phir editing. Yeh rule hamesha follow karo.
First Draft Ke Liye Golden Rules:
- Timer set karo — 25 minute Pomodoro blocks mein likhna sabse effective hai
- Notifications band karo — distraction-free mode enable karo
- Pehle outline banao — blank page anxiety khatam ho jaati hai
- Word count goal set karo — daily 500-1000 words se shuru karo
- Draft khatam karne ke baad minimum 2-4 ghante break lo — ideally 24 ghante
Step 3: Structure aur Flow — Woh Foundation Jo Readers Ko Rokti Hai
Jab aap Master the Basics of Editing ke is step par pahunchte hain, tab aap developmental editing karte hain. Yeh woh layer hai jahan most beginners time nahi lagate — aur yahi unki sabse badi galti hoti hai. Structure weak ho toh chahe sentences kitni bhi acchi kyun na hon, content fail hoga.
Structure Check Kaise Karein
- Introduction Hook Test: Kya pehla paragraph reader ko hook karta hai? Pehle 2 sentences mein koi compelling reason hona chahiye padhte rehne ka — ek question, ek shocking fact, ya ek bold claim.
- Logical Flow Check: Har section naturally agle se connect hona chahiye. Ek section padhne ke baad reader automatically next section padhna chahiye. Agar sections disconnected lagte hain toh transition sentences add karo ya order rearrange karo.
- Heading Structure: H1 ek hi hona chahiye — article title. H2 main sections ke liye. H3 sub-points ke liye. Clear heading hierarchy Google ko content understand karne mein help karta hai aur readers ko scannable structure deta hai.
- Strong Conclusion: Conclusion mein key takeaways summarize karo, reader ko next step batao, aur ek clear call-to-action do. Weak conclusion reader ko confused chhod deta hai — aur confused reader share nahi karta.
Step 4: Line Editing — Har Sentence Ko Powerful Banao
Line editing woh jagah hai jahan aapki writing voice develop hoti hai. Jab aap Master the Basics of Editing ke is level par kaam karte hain, tab aap word choice, sentence rhythm, aur tone par dhyan dete hain. Yeh editing ka woh hissa hai jo aapke content ko average se outstanding banata hai.
Filler Words Delete Karo — Yeh List Print Karo
In words ko apne content mein dhundho aur mostly delete kar do — yeh sirf space waste karte hain:
- ‘Very’, ‘really’, ‘quite’, ‘just’, ‘actually’ — almost kabhi zaroori nahi hote
- ‘In order to’ → replace with ‘to’ — 3 words instantly save
- ‘The fact that’ → replace with ‘that’ ya rewrite
- ‘A lot of’ → replace with ‘many’ ya ‘numerous’
- ‘At this point in time’ → simply ‘now’
- ‘It is important to note that’ → delete completely, just state the point
Active Voice — Passive Ko Active Mein Convert Karo
Passive voice content ko weak aur boring banata hai. ‘The video was edited by the creator’ ki jagah ‘The creator edited the video’ likho. Active voice 35% zyada engaging hoti hai aur Google bhi active voice ko prefer karta hai. Hemingway Editor automatically passive voice highlight karta hai — har article mein use karo. Yeh tip akele aapki content quality dramatically improve kar sakti hai.
Step 5: Best Editing Tools — Free Mein Professional Results
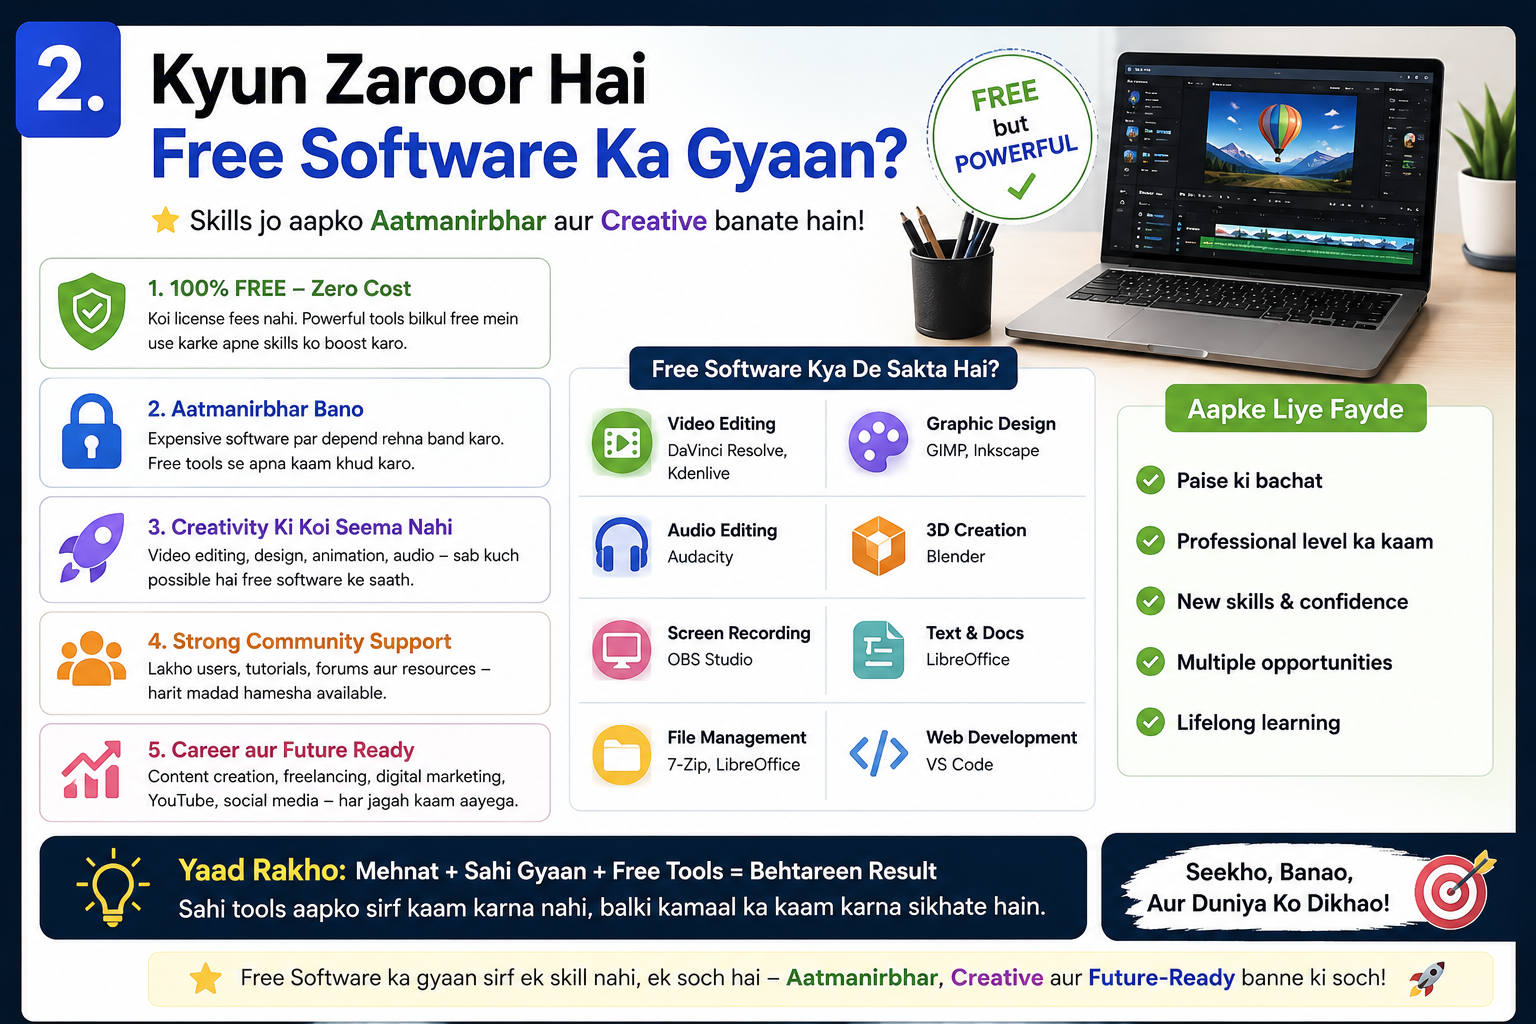
Ek important truth: world ke best editing tools free mein available hain. Jab aap Master the Basics of Editing seriously lete hain, toh yeh tools aapki editing process ko 3x faster aur 5x more effective bana dete hain. Niche woh tools hain jo every new creator ko use karne chahiye.
Tool 1: Grammarly — Grammar aur Style ka AI Assistant
Grammarly duniya ka most popular writing tool hai — aur wajah hai. Yeh real-time grammar corrections, spelling fixes, punctuation suggestions, aur style improvements deta hai. Browser extension install karo aur yeh automatically har jagah kaam karta hai — Gmail, Google Docs, WordPress, LinkedIn, sab jagah. Free version beginners ke liye kaafi powerful hai. Premium mein tone detector, clarity suggestions, aur plagiarism checker milta hai.
Tool 2: Hemingway Editor — Readability ka Expert
Hemingway Editor specifically readability ke liye design hua hai. Yeh complex sentences ko yellow, very complex ko red mein highlight karta hai. Passive voice, excessive adverbs, aur hard-to-read phrases clearly mark ho jaate hain. Target: Grade 6-8 readability score. Yeh ensure karta hai ki aapka content maximum audience tak pahunche — aur SEO ke liye bhi ideal score hai.
Tool 3: Google Docs — Collaborative Editing Platform
Google Docs ka Suggesting Mode ek underrated powerhouse hai. Har change track hota hai, comments add kar sakte ho specific phrases par, aur ek click se accept ya reject kar sakte ho. Completely free hai, kisi bhi device par kaam karta hai, aur auto-save se kuch bhi kabhi lost nahi hota. Team ke saath kaam karne wale creators ke liye yeh ideal tool hai.
Tool 4: ProWritingAid — Deep Editing Analysis
ProWritingAid ek comprehensive editing suite hai jo 20+ detailed writing reports generate karta hai. Yeh batata hai ki aap kaunse words over-use karte ho, sentence variety kaisi hai, aur writing patterns kya hain. Free version mein 500 words tak check ho sakti hai. Serious bloggers aur professional content creators ke liye yeh Master the Basics of Editing toolkit ka most powerful tool hai.
Step 6: SEO Editing — Google Ko Bhi Khush Karo
Jab aap Master the Basics of Editing seekh lete hain, toh SEO editing naturally aata hai. Yeh woh step hai jahan aap apne already polished content ko search engines ke liye optimize karte hain. Lekin remember — pehle human ke liye likho, phir SEO optimize karo. Keyword stuffing kabhi kaam nahi karta.
Complete SEO Editing Checklist:
- Focus keyword pehle 100 words mein: Google introduction ko extra weight deta hai — keyword naturally place karo
- Keyword density 1-2%: 2000 word article mein 20-40 baar — natural placement, forced nahi
- H2 aur H3 mein related terms: LSI keywords jaise ‘editing tips’, ‘content editing tricks’, ‘writing improvement’
- Meta description 150-160 characters: Keyword pehle 60 characters mein, compelling enough to get clicks
- Short paragraphs — max 3-4 lines: Mobile readers ke liye critical — 60%+ traffic mobile se aata hai
- Internal links 2-3 minimum: Related articles link karo — bounce rate kam hoti hai, session time badhta hai
- Image alt text optimize karo: Descriptive, keyword-relevant alt text har image mein add karo
Step 7: 5 Advanced Editing Techniques Jo New Creators Ko Instant Edge Deti Hain
Yeh techniques woh hai jo Master the Basics of Editing ko basics se aage le jaati hain. Jab aap in techniques ko apne routine mein add karte hain, aapki editing quality ek alag level par pahunch jaati hai.
Technique 1: The Read Aloud Method
Apna poora content zor se padho. Yeh embarrassing lag sakta hai lekin yeh editing ka most powerful technique hai. Jab aap bol ke padhte ho tab aapka brain automatically awkward phrases, missing words, aur run-on sentences pakad leta hai. Agar koi sentence bolne mein thoda bhi awkward lagta hai — woh rewrite karo. Yeh technique akeli 40% editing time save karti hai aur quality dramatically improve karti hai.
Technique 2: The Reverse Read
Document ke last sentence se start karo aur upar ki taraf padho. Yeh technique aapke brain ko trick karta hai — woh meaning dhundhne ki jagah individual words aur grammar par focus karta hai. Spelling errors, double words, aur missed punctuation is technique se pakad mein aa jaate hain jo forward reading mein miss ho jaate hain.
Technique 3: The Paragraph Test
Har paragraph ko ek sentence mein summarize karne ki koshish karo. Agar nahi kar sakte — paragraph mein zyada information hai aur use break karna padega. Ek paragraph, ek point. Yeh rule follow karne se aapka content automatically scannable, readable, aur better structured ban jata hai.
Technique 4: Sentence Variety Add Karo
Ek hi length ki sentences padhna boring ho jaata hai. Short, medium, aur long sentences mix karo. Ek very short sentence. Phir ek slightly longer one that adds context. Phir ek longer, more detailed sentence that fully explains the concept you’re discussing. Yeh rhythm reader ko engage rakhta hai. Hemingway Editor automatically sentence variety score deta hai.
Technique 5: The ‘So What’ Test
Har paragraph padhne ke baad apne aap se pucho: ‘So what? Reader ko isse kya farak padta hai?’ Agar jawab unclear hai — paragraph ya toh rewrite karo ya delete karo. Yeh test ensure karta hai ki aapka har word reader ke liye value add kar raha hai. Weak content ki wajah usually yeh hoti hai ki writer reader ke perspective se nahi socha.
Step 8: Complete Editing Checklist — Publish Se Pehle Yeh Zaroor Karo
Yeh Master the Basics of Editing ka final aur most practical deliverable hai. Is checklist ko apne phone mein save karo ya print karke monitor ke paas lagao. Har article publish karne se pehle is se guzro:
Content Quality Checks:
- Introduction pehle 2 sentences mein reader ko hook karta hai
- Har section logically agle section se connect hota hai
- Har paragraph ka ek clear, single point hai
- Conclusion strong hai aur clear call-to-action hai
- Tone pura article mein consistent hai
Technical Editing Checks:
- Grammarly se grammar aur spelling check complete
- Hemingway Editor — Grade 8 ya below readability score
- Passive voice sentences active mein convert
- Filler words delete — ‘very’, ‘really’, ‘just’, ‘quite’
- Paragraphs 3-4 lines se zyada nahi
SEO Editing Checks:
- Focus keyword pehle 100 words mein naturally placed
- H1, H2, H3 heading structure correct hai
- Meta description 150-160 characters mein ready
- Internal links 2-3 related articles se
- Image alt text keyword-relevant hai
Final Words: Ek Great Editor Banana Ek Great Writer Banana Hai
Is guide mein aapne jo seekha woh sirf information nahi hai — yeh ek complete system hai. Jab aap consistently Master the Basics of Editing apply karte hain, tab aapka content transform ho jaata hai. Readers zyada der ruke rehte hain. Bounce rate girta hai. Google aapko better rank karta hai. Aur sabse important — aapka audience trust karne lagta hai.
Editing ek skill hai — aur skills repetition se develop hoti hain. Pehli baar yeh checklist follow karne mein shayad zyada waqt lagega. Lekin 10-15 articles ke baad yeh sab automatic ho jaayega. Aap khud notice karenge ki aapka pehla draft bhi better ho raha hai kyunki aapka editing mindset develop ho gaya hai.
Duniya ke successful content creators aur writers mein ek common trait hai — woh editing ko seriously lete hain. Woh jaante hain ki pehla draft sirf raw material hai. Real magic editing mein hoti hai. Ab aapke paas woh complete toolkit hai jisse aap bhi Master the Basics of Editing kar sako aur professional-level content create kar sako. Toh ab ek kaam karo — apna last written piece nikalo, is guide ko open rakho, aur pehle step se shuru karo. Aapko aaj hi fark nazar aayega. Aur yahi hai Master the Basics of Editing ka asli power — jo bhi ise seriously le, unka content hamesha ke liye change ho